Friday 20 April 2018

It's all about texture

Do you ever look back at all of those images of things you have created?

I've recently been looking back at some of my favourites from the last year or so and one that really stands out was my first project in Mixed Up Mag. 

When I'm creating a new piece, whether its a canvas, substrate kit, altered box or other item, the key element I have to get in is texture - lots of it!

When I started out creating this one, I'd been watching a documentary about ancient sunken empires in Italy and there were lots of artefacts on the sea bed, some whole and some partially so.  The documentary inspired the piece below which I called Lost in Time.  This was in Issue 6 April/May 2017.  

I really love tactile pieces and I don't mind if people want to touch, feel and handle my pieces so they can experience the texture and depth of my work and imagine how I created it.


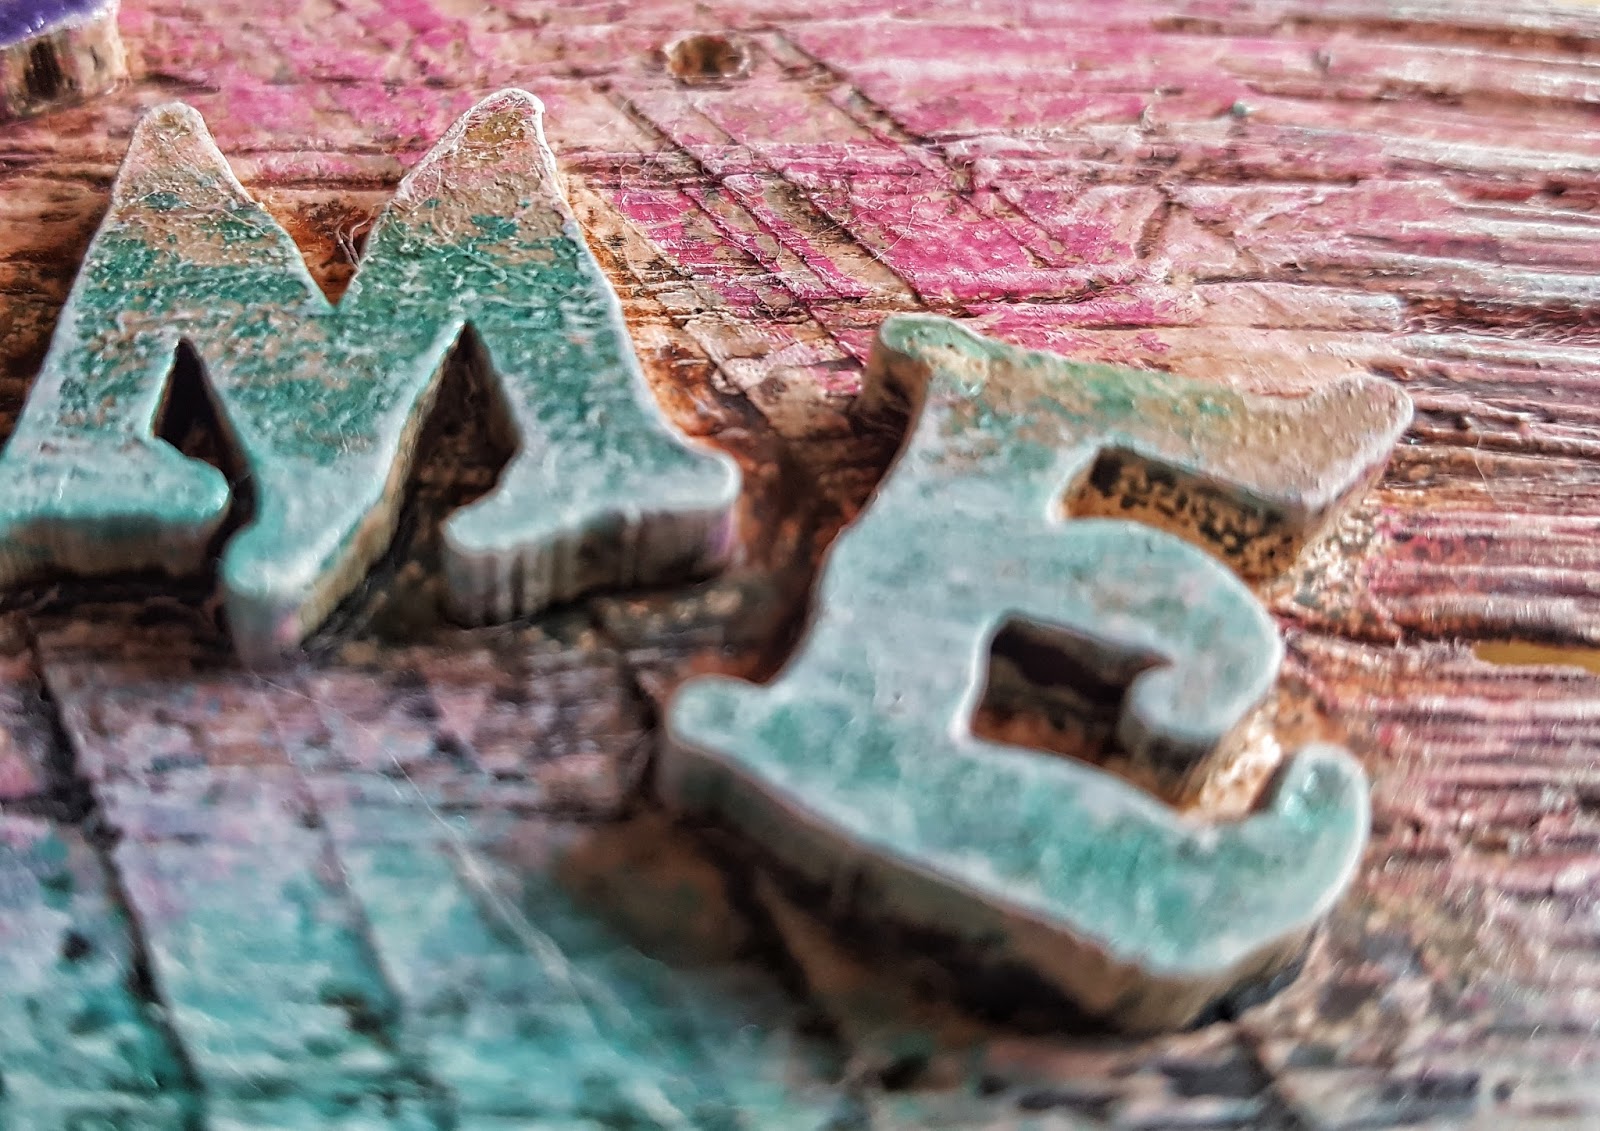
 Here are a couple of close ups on the luscious texture and rust.


My second favourite heavily textured piece was a blog I did back in Spring 2017 for Powertex - A Window in Jurassic.  You can see how I created it here.  We had been to Dorset and walked the beaches around Burton Bradstock not long after a cliff fall. You could see into the past, lots of fossils of all colours and shapes.


This is a close up of one section of the finished piece


It's good to look back and be proud of what you have created and also see how far you have progressed too. Hope you enjoyed my indulgent reminiscence.

Bye for now
Fi

Wednesday 18 April 2018

Under the Sea Brooch - Mixed Up Mag Challenge Team Blog - Texture

Just a quick update to my blog on texture on how I add texture in my jewellery pieces.  This blog is part of the first challenged on the Make it Mixed Media Challenge Blog - May 2018 Texture. I'm so happy to be on this team as I love the magazine and love contributing my project ideas to it.

 ****
Here I am again, it's like waiting for a bus - you wait for hours then all of a sudden three come along at once! Random but that's me at the moment as my head is popping off in all directions.

I'm in the middle of a big sort out as I'm planning on opening an Etsy shop and also some of my jewellery is going off to a new craft centre where hopefully some of it will be sold.  OK I'm rambling...

I came across this piece that I made from scratch when I was planning a bare copper and resin workshop for Jewellery Maker.
This Under the Sea inspired piece was made with Bare Copper which I textured and riveted together before oxidising.  I then added an image in the background.  The texture in this comes from two sources. The dark blue texture is crushed Sodalite gemstones.  The lighter blue is coarse German glass glitter.  These were all set in place in the first layer of resin.
I then added some more images of fish and some tiny real sea shells that I picked up on the beach.  These added depth and dimension and were set in place with another layer of resin. 
To finish I added more glass glitter and Sodalite and topped it off with a small real pearl and a silver fish charm.
Watch out for more jewellery blogs soon
By for now
Fi

Friday 13 April 2018

It's always time for tea!


Hi there, did you see Tracey on Hochanda? Have you got your Alice themed projects yet?  

I had such a lot of fun creating this colourful piece.  I'm popping some photos below so you can see the steps I took to create it.

First I added rice paper using Easy Coat matte and did a loose layout


Next I covered everything in ivory Powertex and sprayed with blue and red Bister,  and then left overnight to make sure it was thoroughly dry


I then washed back the bister to leave the nice soft blues and pinks 


Next I used Easy Structure and some stencils to create extra texture  once that was dry I used the gloriously bright Secret Art Loft pigments and inks as well as some Powercolor


Finally I drilled holes with a 2mm drill bit and threaded through some paper string to hang my tea shoppe sign with

Hope you like it and have loads of fun and hope we are inspiring you to create your own unique pieces

Bye for now
Fi


Monday 9 April 2018

Mad Mad Hatter

Just a quick blog today to share my Mad Mad Hatter project with you.  This is the second of the pieces I created for Tracey's Hochanda show on 30th March.


We had a very colourful kit to choose from which is just perfect for these Alice Theme project kits.

As always, I played with some layout ideas before I for the Powertex out. First I used some Easy Coat Matte to attach the Queen of hearts rice paper on the hat base and on one of the mdf card blanks. 

I then coated everything in black Powertex.  I then made up some stone art clay for the band and added some lace at the top and bottom of the band. I also added stone art clay to the top hat for depth and texture. 
Next I coated and placed the embellishments.


Once everything was totally dry I got the Secret Art Loft acrylics out and added several layers of colour.  Next I used a variety of The Secret Art Loft and Powercolor pigments mixed with easy varnish to really make the embellishments pop.  Below are some close ups of some of them.


Here's the finished piece. 

Hope Tracey and the Design Team have inspired you to have fun with your project kits.

Look forward to seeing your pieces in the Powertex Studio Group.

By for now
Fi