Showing posts with label powercolor pigments. Show all posts

Friday, 13 April 2018

It's always time for tea!


Hi there, did you see Tracey on Hochanda? Have you got your Alice themed projects yet?  

I had such a lot of fun creating this colourful piece.  I'm popping some photos below so you can see the steps I took to create it.

First I added rice paper using Easy Coat matte and did a loose layout


Next I covered everything in ivory Powertex and sprayed with blue and red Bister,  and then left overnight to make sure it was thoroughly dry


I then washed back the bister to leave the nice soft blues and pinks 


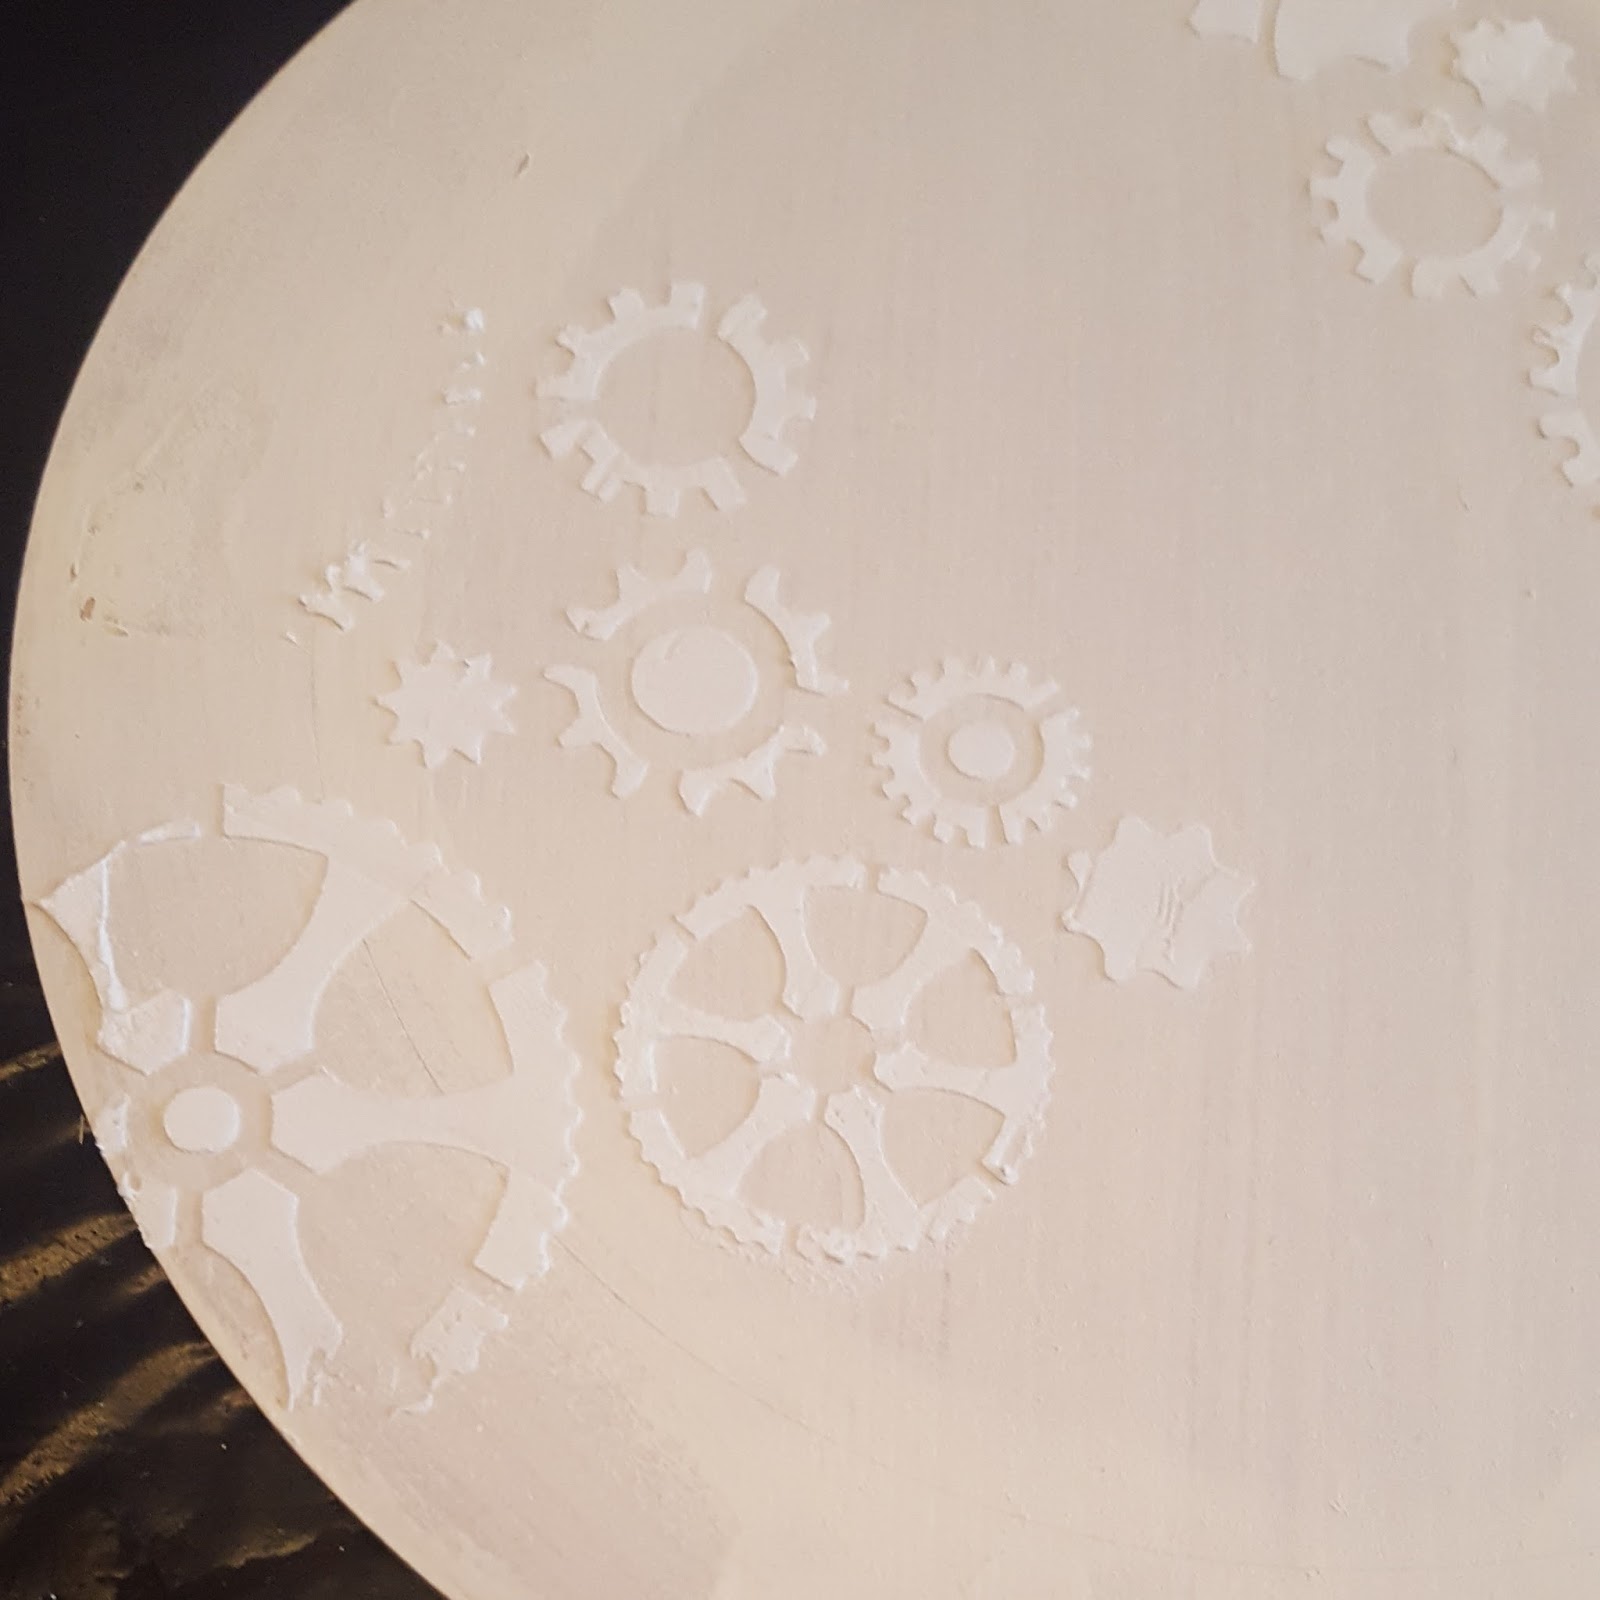
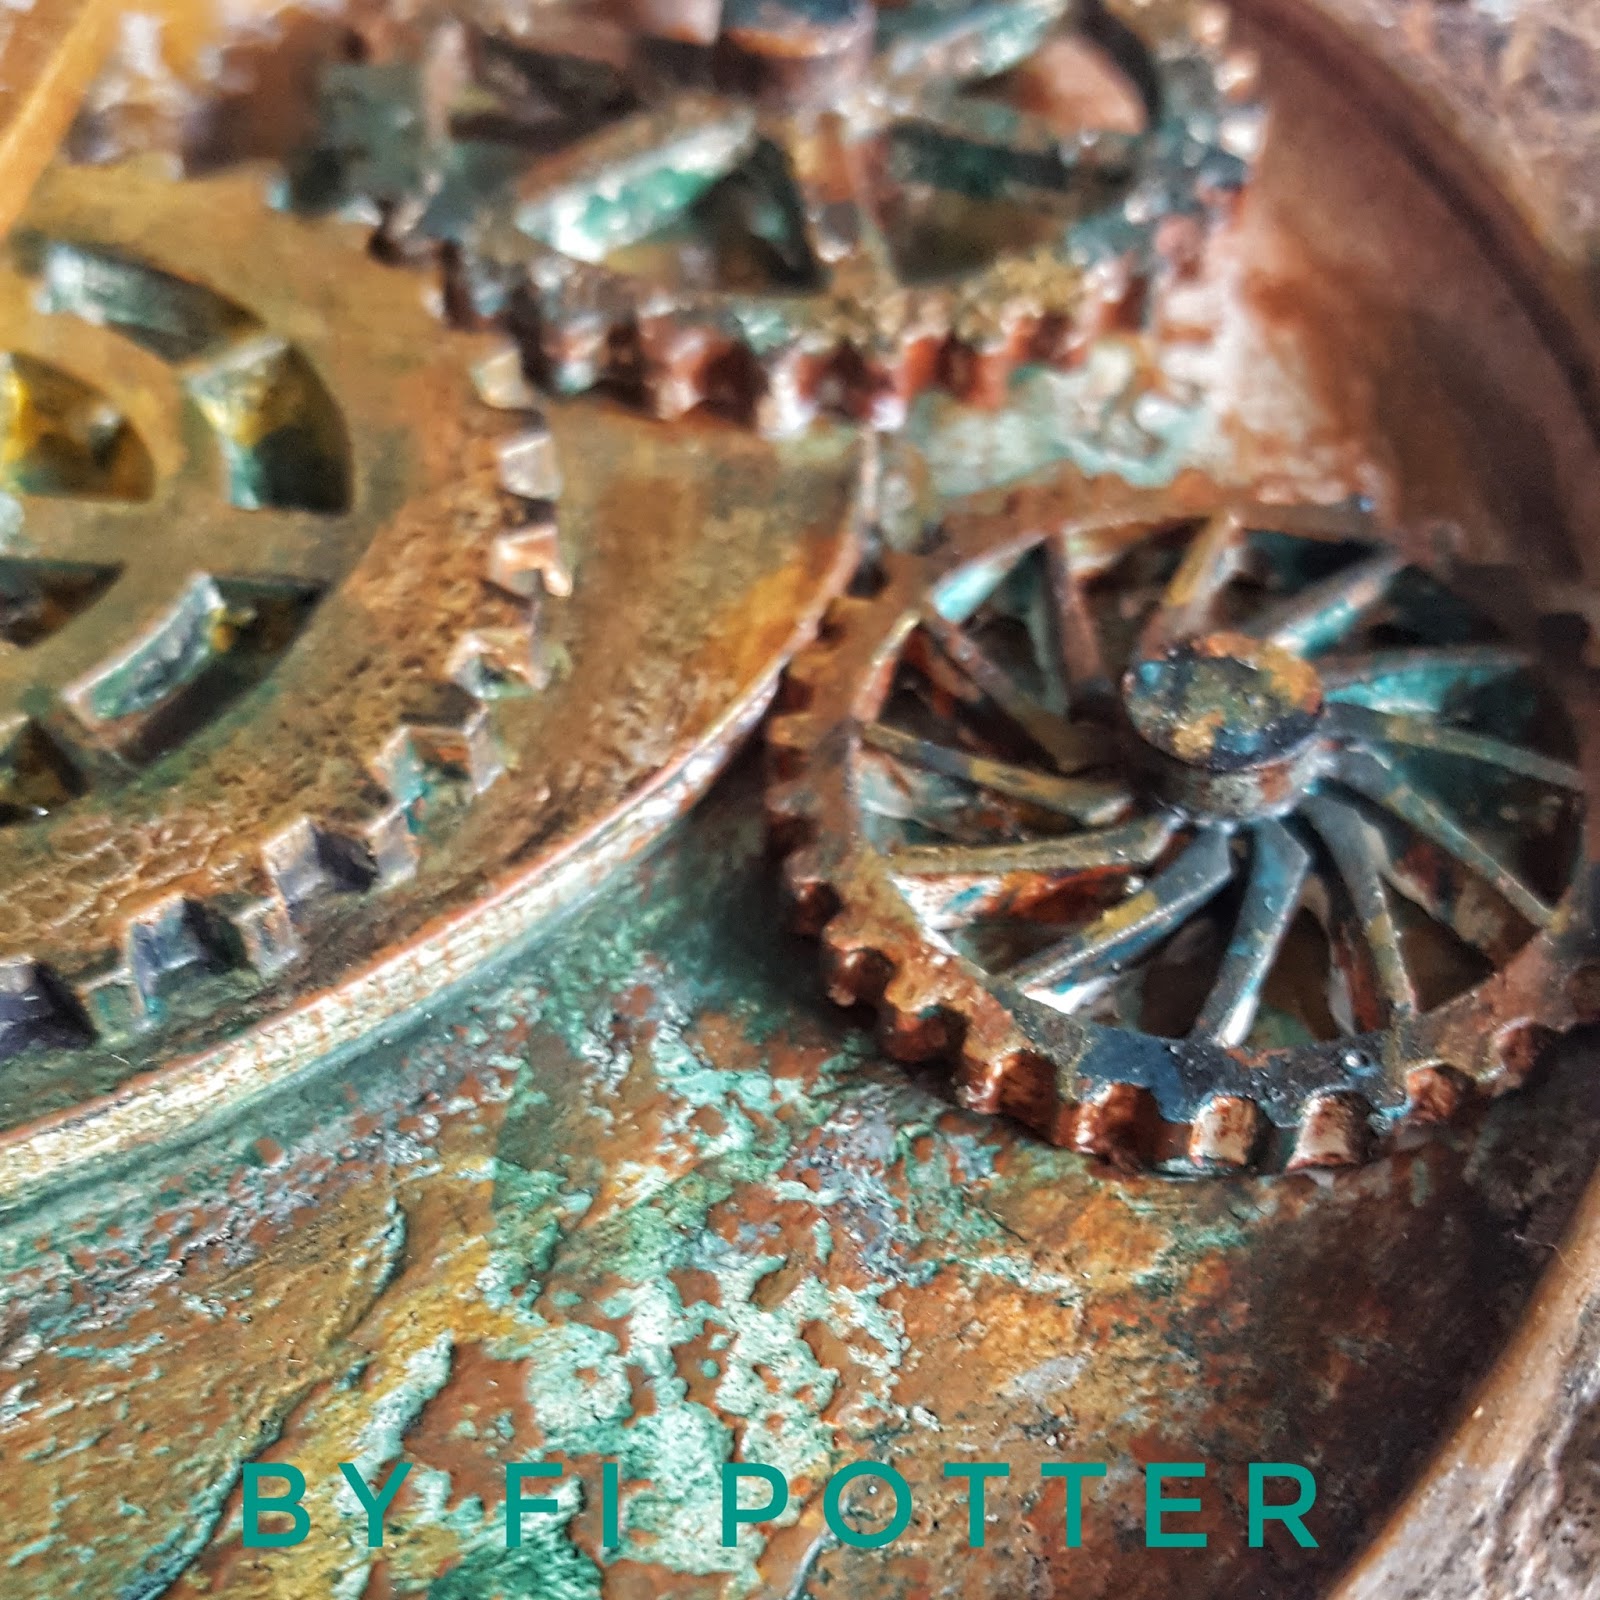
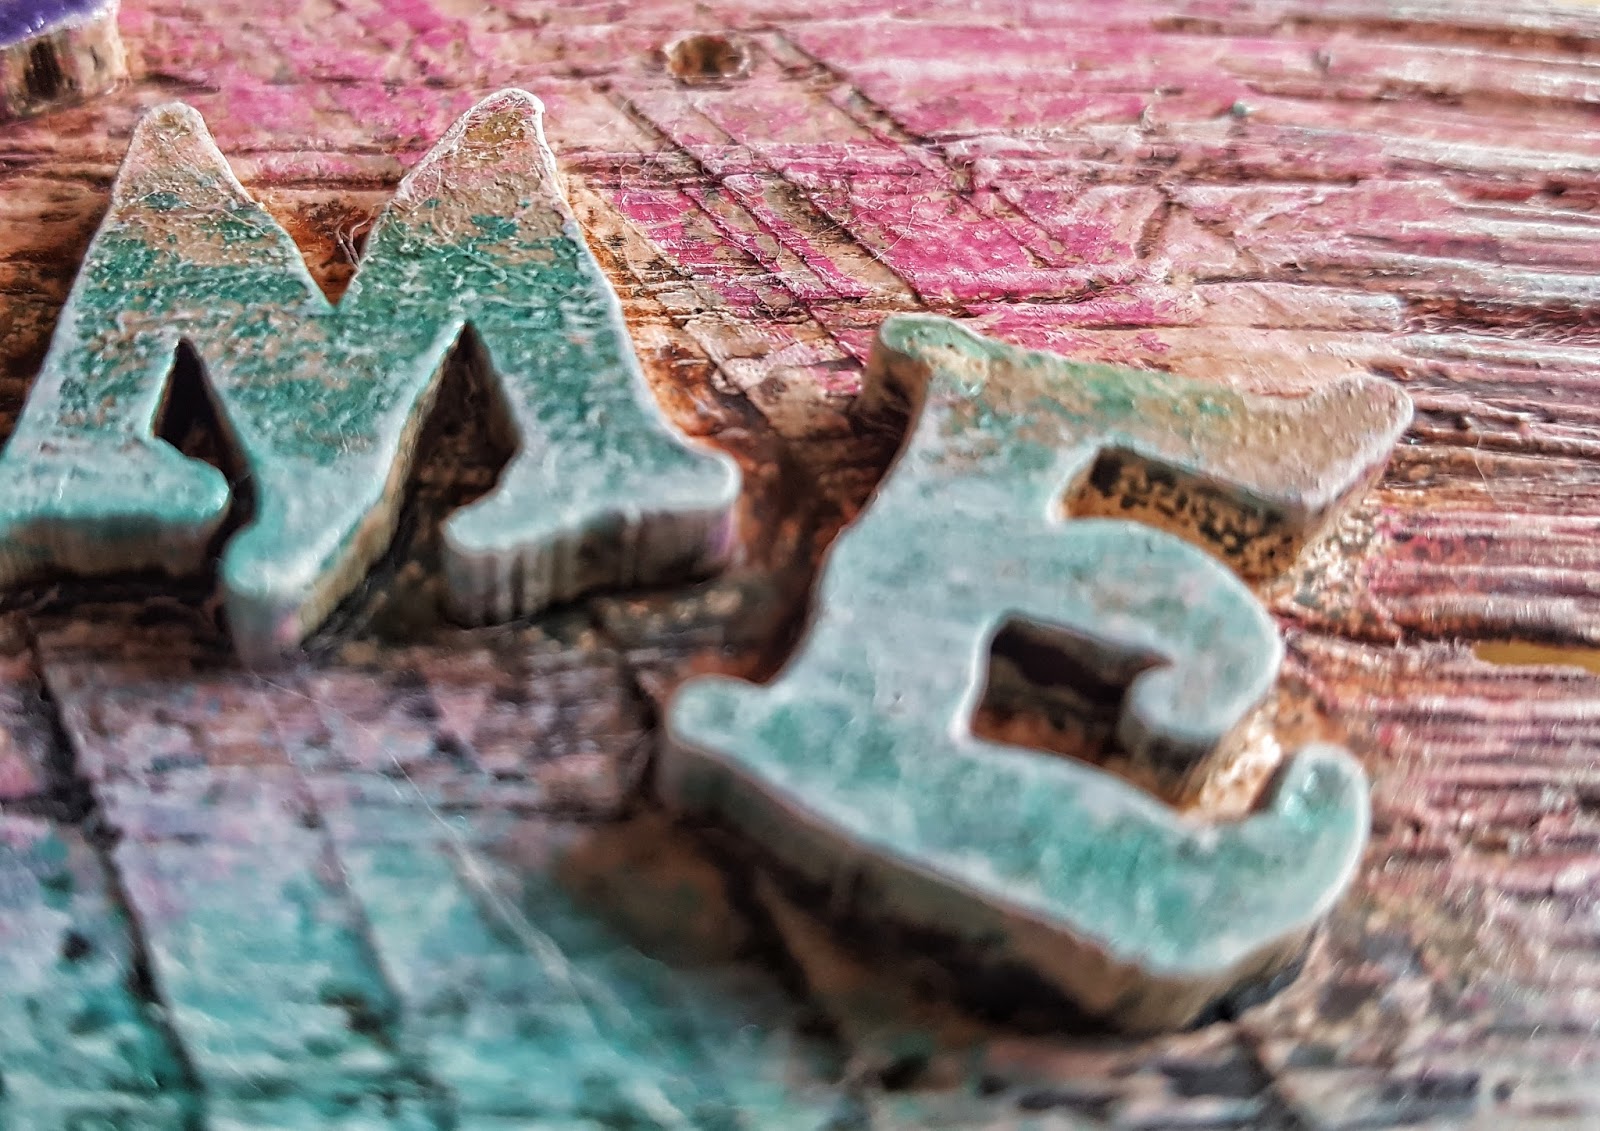
Next I used Easy Structure and some stencils to create extra texture  once that was dry I used the gloriously bright Secret Art Loft pigments and inks as well as some Powercolor


Finally I drilled holes with a 2mm drill bit and threaded through some paper string to hang my tea shoppe sign with

Hope you like it and have loads of fun and hope we are inspiring you to create your own unique pieces

Bye for now
Fi


Wednesday, 14 March 2018

Altered Time

WOW what a cold and long winter we've had here in the UK and it's something we don't get very often - Time just seemed to drag on and on ... which brings me to my latest blog over on the Powertex DT.

Using the fabulous March  Project Pack  I had oodles of fun creating this Pocket Watch taking the Mad Watch scene from Alice in Wonderland as my inspiration.  I didn't add butter or mustard but  Idid use some of them to pull together my colour pallet.

So first I unpacked and laid out the ingredients from the project pack, picked out some PowerColors and mixed up the black bister from the kit.

I always like to get a rough layout even though I know it will change once I get started. 

With this one I wanted a slighty deeper clock face so I used some MDF dropouts to raise the rim above the clock face.


First I used some Easy Structure and a cogs stencil (from my own stash)  to create some background texure that fitted with the theme.

Easy Structure dries really quickly and I prefer to let it dry naturally but if you are in a hurry you can blast it with some heat from a hair dryer or heat gun.            

Once the easy structure was dry I coated the whole layer  of Ivory Powertex from the kit (with a generous amount where there was no stencilling)

I then placed some of the drop outs around the perimeter of the base, added the heart in the centre and the largest cog on top.   


I added some Ivory Powertex under the outer rim of the top layer of the watch and placed on top taking care to line it up accurately.  I applied more Powertex  over the top layer and then sprayed generously with black bister.

I used a hairdryer to dry and create some areas with a  bister split creating more texture and interest.

This part was all done in around 10-15 minutes.

While this finished drying I coated the numbers, clock hands and a few circle mdf dropouts with ivory. I then did the same to the remaining cogs which I placed into position while they were still wet.

The image tp the left shows where I thought I would place them, but I did move them around a few times before I put the Powertex on.  


Once the cogs, numbers, hands etc were dry I used Rich Gold Colorticx and Easy Varnish to richly coat the numbers and clock hands.  

I applied Yellow Ochre, Red Ochre and Dark Green pigments randomly over the cogs and circles and applied with Powertex pressing firmly on each piece until they had started to stick.


I used bronze gold colortricx to dry brush the background of the clock face.  

I then added washes of turquoise pigment as well as the yellow, red and dark green pigments to build up a rusty look.

I built this up over several thin layers.


I added a few flat back crystals to highlight where there were missing numbers and also popped some rusty circles to finish off the smaller cogs.


I did a similar finish to the stand using Ivory Powertex, Black Bister as well rich and bronze gold to give a cohesive look to the finished piece.

Below are some other close ups so you can see how it was all finished.

And here is the finished altered timepiece...


Have fun and don't forget to share your makes with us over on Powertex Addicts or why not join our fab new group The Powertex Studio where Certfied Powertex Tutors as well as YOU can share your creations and we can inspire each other.


Bye for now
Fi xx

This is what I had left!!!!!


These are the pigments I used and below are some close ups...


Wednesday, 15 November 2017

Powertex Hat - NEC November 2017

Hi there long time no see!

I took a nice break and enjoyed 2 weeks in Cornwall in September and October just seemed to disappear!  Then November came along with a fabulous Hobby show at the NEC and I had a great time with Powertex UK demonstrating all kinds of texy things.


There was a lot of interest in the hat I bought along to alter with Powertex and so as promised here is a quick step by step photo story of how this old felt trilby was transformed into a bit of goth type magic. 


I started with a selection of fabrics and added MDF, Plaster and sand embellishments.


Once it was dry I added a variety of pigments to give it colour and to bring out all the fabulous textures.


It really was a great project to make and I wore it the following weekend at Ministry of Mixology, Coventry and here is the finiished hat.


Products used were all Powertex:

Have fun and happy 'Texing

Bye for now
Fi