Showing posts with label mixedmedia. Show all posts

Friday, 13 April 2018

It's always time for tea!


Hi there, did you see Tracey on Hochanda? Have you got your Alice themed projects yet?  

I had such a lot of fun creating this colourful piece.  I'm popping some photos below so you can see the steps I took to create it.

First I added rice paper using Easy Coat matte and did a loose layout


Next I covered everything in ivory Powertex and sprayed with blue and red Bister,  and then left overnight to make sure it was thoroughly dry


I then washed back the bister to leave the nice soft blues and pinks 


Next I used Easy Structure and some stencils to create extra texture  once that was dry I used the gloriously bright Secret Art Loft pigments and inks as well as some Powercolor


Finally I drilled holes with a 2mm drill bit and threaded through some paper string to hang my tea shoppe sign with

Hope you like it and have loads of fun and hope we are inspiring you to create your own unique pieces

Bye for now
Fi


Wednesday, 14 March 2018

Altered Time

WOW what a cold and long winter we've had here in the UK and it's something we don't get very often - Time just seemed to drag on and on ... which brings me to my latest blog over on the Powertex DT.

Using the fabulous March  Project Pack  I had oodles of fun creating this Pocket Watch taking the Mad Watch scene from Alice in Wonderland as my inspiration.  I didn't add butter or mustard but  Idid use some of them to pull together my colour pallet.

So first I unpacked and laid out the ingredients from the project pack, picked out some PowerColors and mixed up the black bister from the kit.

I always like to get a rough layout even though I know it will change once I get started. 

With this one I wanted a slighty deeper clock face so I used some MDF dropouts to raise the rim above the clock face.


First I used some Easy Structure and a cogs stencil (from my own stash)  to create some background texure that fitted with the theme.

Easy Structure dries really quickly and I prefer to let it dry naturally but if you are in a hurry you can blast it with some heat from a hair dryer or heat gun.            

Once the easy structure was dry I coated the whole layer  of Ivory Powertex from the kit (with a generous amount where there was no stencilling)

I then placed some of the drop outs around the perimeter of the base, added the heart in the centre and the largest cog on top.   


I added some Ivory Powertex under the outer rim of the top layer of the watch and placed on top taking care to line it up accurately.  I applied more Powertex  over the top layer and then sprayed generously with black bister.

I used a hairdryer to dry and create some areas with a  bister split creating more texture and interest.

This part was all done in around 10-15 minutes.

While this finished drying I coated the numbers, clock hands and a few circle mdf dropouts with ivory. I then did the same to the remaining cogs which I placed into position while they were still wet.

The image tp the left shows where I thought I would place them, but I did move them around a few times before I put the Powertex on.  


Once the cogs, numbers, hands etc were dry I used Rich Gold Colorticx and Easy Varnish to richly coat the numbers and clock hands.  

I applied Yellow Ochre, Red Ochre and Dark Green pigments randomly over the cogs and circles and applied with Powertex pressing firmly on each piece until they had started to stick.


I used bronze gold colortricx to dry brush the background of the clock face.  

I then added washes of turquoise pigment as well as the yellow, red and dark green pigments to build up a rusty look.

I built this up over several thin layers.


I added a few flat back crystals to highlight where there were missing numbers and also popped some rusty circles to finish off the smaller cogs.


I did a similar finish to the stand using Ivory Powertex, Black Bister as well rich and bronze gold to give a cohesive look to the finished piece.

Below are some other close ups so you can see how it was all finished.

And here is the finished altered timepiece...


Have fun and don't forget to share your makes with us over on Powertex Addicts or why not join our fab new group The Powertex Studio where Certfied Powertex Tutors as well as YOU can share your creations and we can inspire each other.


Bye for now
Fi xx

This is what I had left!!!!!


These are the pigments I used and below are some close ups...


Thursday, 16 November 2017

Ministry of Mixology Coventry - November 2017

Wowee this November has to be the most arty painty creative month ever!  First the NEC, then a day on Powertex product development (new workshop dates blogs coming soon) and then ...read on...

I'm just back from the fabulously crazy arty weekend that is Ministry of Mixology or MoM!  

This was held at the Holiday Inn Academy Hotel in Coventry which was a great venue, especially as I'm only 20 minutes away!  It was great to see old friends and new as well as meeting the real people behind so many facebook profiles.

On Saturday I took a class with Tzanidakis Antonis, a hugely talented mixed media artist from Greece. Oh my this guy is crazy and funny and a fantastic teacher.  His project was BIG, I learnt so many techniques and I loved every minute.  

This is the project we made under his watchful eye, it was a fantastic project!


In the evening the MoM team organised a series of Make and Takes led by some hugely talented mixed media artists AKA Super-Elves.  

I took a class with Suz Humphreys of Surrey Crafts. This was so well organised and prepped and I enjoyed it immensely.  The techniques were easy to follow and Suz included a cheeky hidden photo of Mr Andy Skinner! Not sure if he knew!!!


Sunday couldn't come soon enough and a class with Andy Skinner.  This is the second time I've had the Andy Skinner experience and I enjoyed the altogether relaxed pace for a Sunday, after a busy Saturday and not to mention a slow gin or two!  More great techniques and a build up of colour with subtle washes.  Love the finished piece!


Sadly it was all over too soon until today, Wednesday, that is.  

My fabulous and hugely talented friend Nikki K and I craft together just for fun, a natter and a catch up as friends do.  Nikki was busy recreating her own "backwards crackle" technique Make and Take piece for Tando's blog.  So I persuaded her to let me follow along (lots of builders strength tea and a tasty lunch worked nicely).  Thanks Nikki you topped my arty crafty paint week off perfectly.

Nikki's original piece has coiled wire and two fab skulls to form a hanger.  To finish my piece I used Hannah Oxberry's rust craft wire.  This is a brilliant technique and one I shall be using again.

And that's it, four wonderful crafty days out of the last 6.  I guess I better go back to the day job tomorrow then!

Bye for now
Fi


Wednesday, 15 November 2017

Powertex Hat - NEC November 2017

Hi there long time no see!

I took a nice break and enjoyed 2 weeks in Cornwall in September and October just seemed to disappear!  Then November came along with a fabulous Hobby show at the NEC and I had a great time with Powertex UK demonstrating all kinds of texy things.


There was a lot of interest in the hat I bought along to alter with Powertex and so as promised here is a quick step by step photo story of how this old felt trilby was transformed into a bit of goth type magic. 


I started with a selection of fabrics and added MDF, Plaster and sand embellishments.


Once it was dry I added a variety of pigments to give it colour and to bring out all the fabulous textures.


It really was a great project to make and I wore it the following weekend at Ministry of Mixology, Coventry and here is the finiished hat.


Products used were all Powertex:

Have fun and happy 'Texing

Bye for now
Fi


Monday, 4 September 2017

Sophie's Summer Superhero Project - Part 2

Well September is here already and Sophie's Super Hero has been updated.  I can't believe the summer holidays went by so quickly but Sophie and I had so much fun with this.  

There are still another 2 or 3 stages to go so we may need to drop "summer"!!


After a little holiday in Weymouth, the excitement of a new baby in the family and a party or two, we did stage 2.  For this we started with a cotton vest which Sophie rubbed Ivory Powertex into, OK i did give her a little help! 

We also worked Powertex into a length of cotton t-shirt fabric. Once it was well covered, we eased the vest over the body and then draped the fabric around the hip to make a short skirt.  (There will be another layer in stage 3.)


We then started the first of the decoration or embellished layer.  For this we needed purple Powertex.  Sophie suggested mixing blue and red Powertex together, but it wasn't quite dark enough so we also added a tiny bit of black.  

We coated some strips of lace and a leather belt which we draped onto Teleporter's hips (recycling is so much fun with Powertex!). We also worked some yellow Powertex for a second decorative strip of lace.


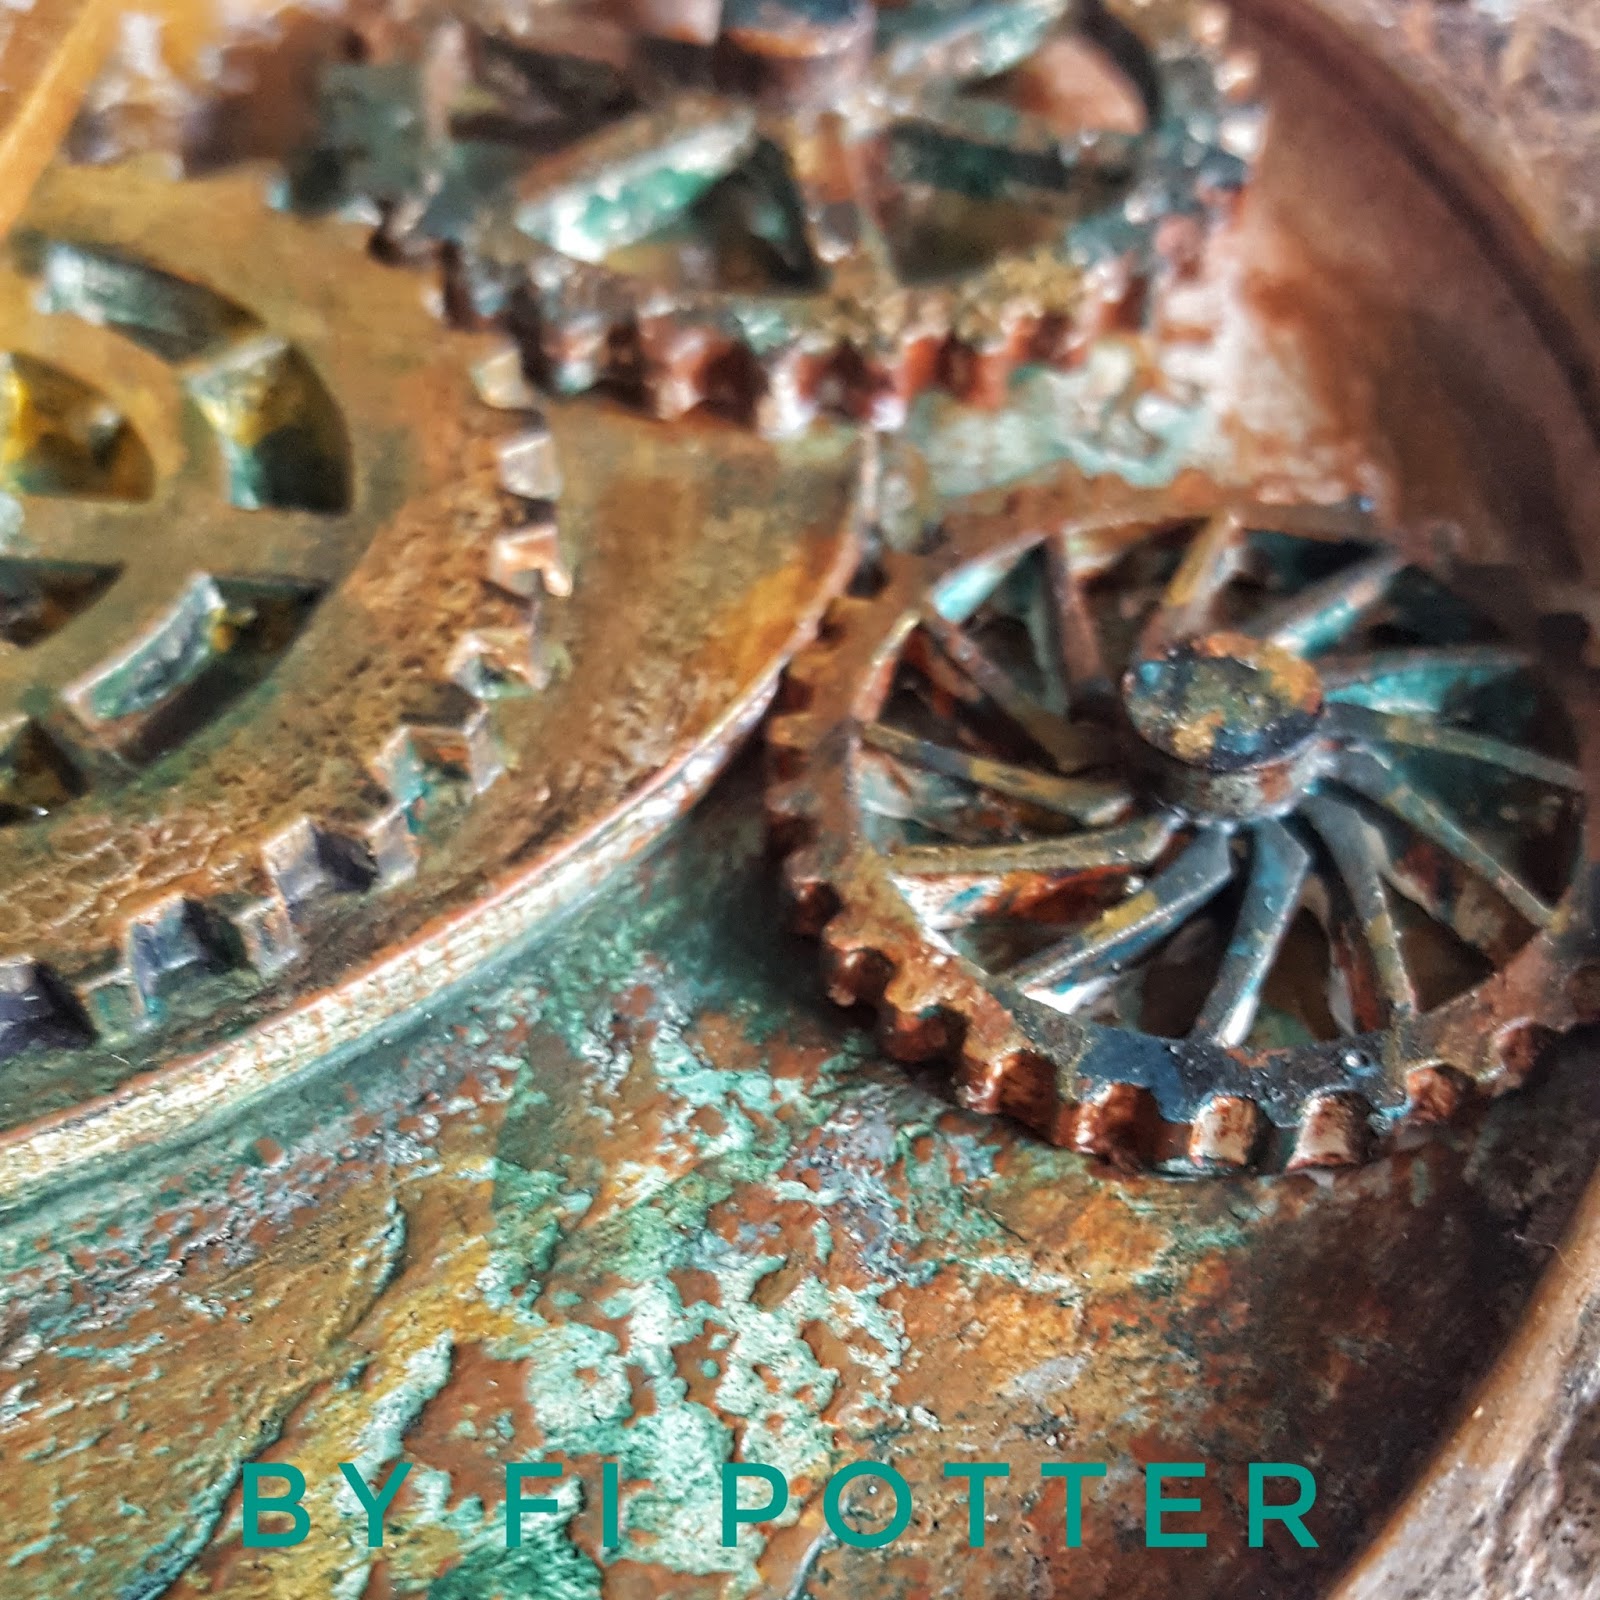
Next we wanted to add the green shoulder pieces and buttons.  If you can remember from Sophie's plan, Teleporter has two buttons, one of which has a secret power.

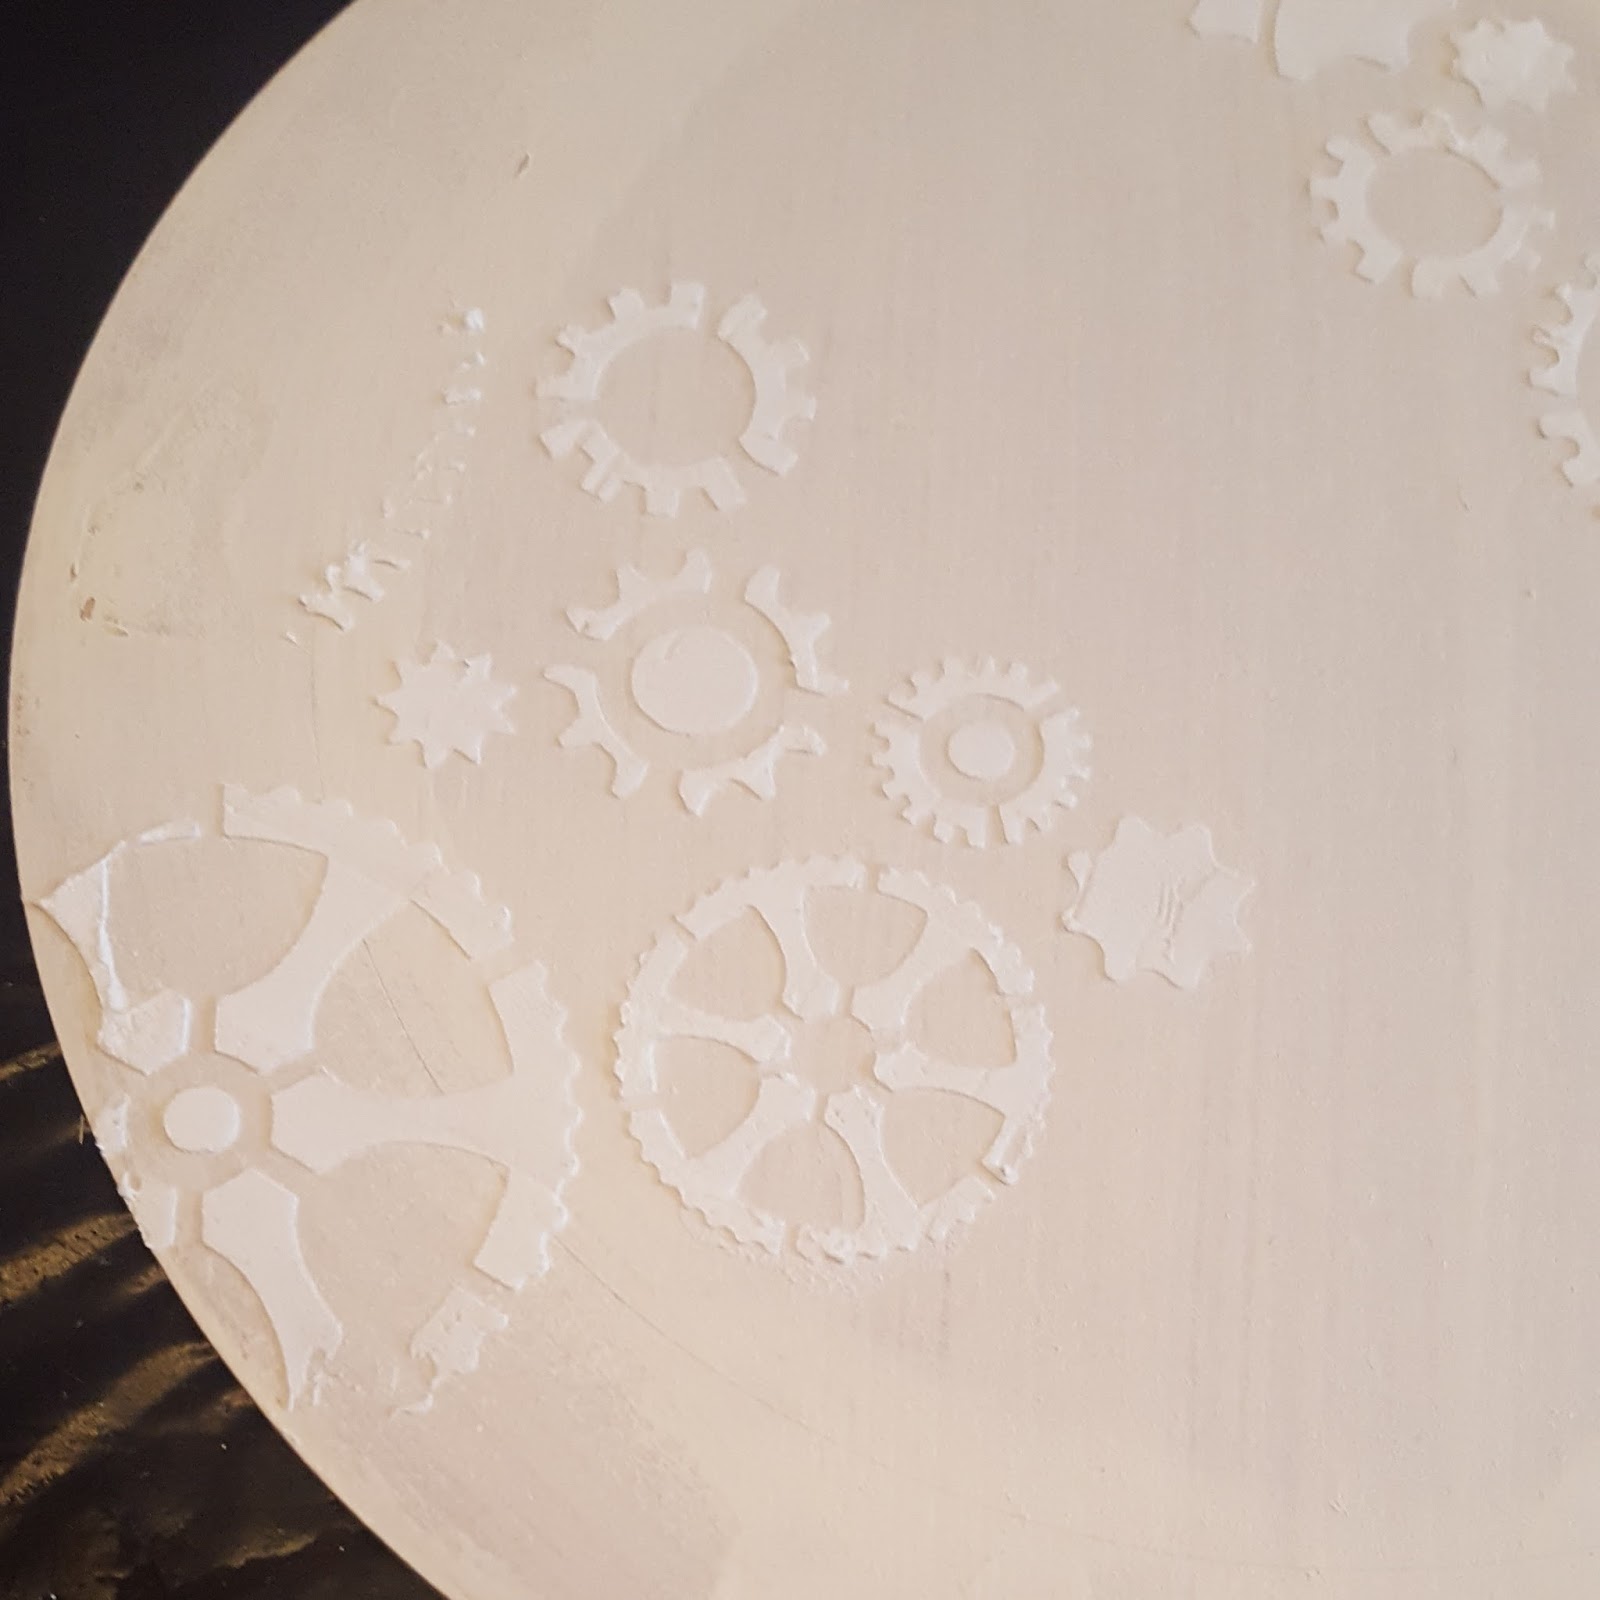
We mixed some ivory and green Powertex and worked this into some woven cotton dishcloth fabric.  We also coated two slices of wood to be the base of the buttons. There were some great embellishments on the belt which Sophie painted with yellow Powertex too.


That all took 2-hours and so we stopped there ready to have more fun with the final layer of embellishments next time.  
I'm so impressed by Sophie's concentration, I forget she is only 7-years old sometimes! The fun and laughter we have is fantastic and that includes seeing who gets the most stray Powertex on our arms, I think there was a splodge or two that she managed to get on my face too!!!

Have fun creating with Powertex and we will be back with the next stage soon!

Fi xx

Friday, 25 August 2017

Powertex - Nefertiti's Collar

Hi all,  I thought it was time to share a couple of my projects from Powertex UK's recent Egyptian themed shows on Hochanda.
So today I'm going to share how I made Nefertiti's gemstone collar.  Not real gemstones of course but made with Black Powertex and  3D sand.  I mixed the Powertex and Sand to a thick paste and pushed into a cabochon mould.  These take a few days to dry so make them a few days before you want to make your collar.


I then worked Ivory Powertex into some woven cotton tape and wrapped this very tightly around the collar base.  

Make sure you overlap the edges evenly as they will form part of the texture of the finished piece.

Tip: these collars have a habit of slipping forward so you might want to drill a hole on each end to fix a jump ring, some chain and a nice clasp to for peace of mind.  I didn't but I really wish I had as the weight pulled it forward even more.


Next I added some sand to a little Powertex to make a paste and put a small dollop onto the back of each faux gemstone and then pushed these into the now dry collar.

Don't add too much or it oozes out but the addition of the paste really help grab the weight of the faux stones onto the near vertical collar and made it easier to work with.


Once the stones were in place, I worked some more ivory Powertex into some paper string.  

I love using paper string where I want a twisted rope effect, it's light weight and absorbs the Powertex so well.

Starting on the lower edge of each stone, I tightly wrapped the string around to give the effect of a twisted wire setting.

Cut the end of at the opposite lower edge of each wrap.


I then coiled a little of the string and pressed one end onto the collar at the our edge and threaded under and over each stone finish with another coil on the opposite side.

Next I painted a thick layer of ivory powertex over the whole piece apart from the stones.  

I then sprayed the whole piece with brown bister and dried with the hairdryer, this added another layer of texture and in some places where a bister split was achieved.  

One it was dry I used red ochre, ultramarine blue and dark green Powercolor pigments which I mixed with Easy Varnish and built up colour on the stones.  

I was very careful to make sure the colour didn't go onto the rope.  I then mixed up Rich Gold Colortrix with more Easy Varnish and quite heavily painted the rope setting and less heavily on the remaining areas.  There's a useful Pigment Tray now that has a small quantity of pigments to help build up your pallete.


As a finishing touch I added some flat back crystals from my stash in the same colours as the stones.
Now here's a little tease, these stones have been enhanced even further, so check back late September/early October and see how these stones look even more realistic! 

That's all for now, let us see your makes on Powertex Addicts United.

Keep creating!
Fi xx


Friday, 9 June 2017

A Perfectly Pink Powertex Jelly Fish

I'm loving the POWERTEX shows on HOCHANDA today and I hope you are too!  Tracey and Anna have done us proud and I am so inspired! 

A day without Powertex is a day...well let's not even go there!

So here's another project to help you create your own Powertex art work.  It's time for a Jelly Fish! 

I remember my brother being stung by one of these critters in Llandudno when we were kids and that was not fun at all!!!! This however was....


As before, I did a rough layout of where I thought I would place my embellishments and textiles.  


TIP: Take a photo!  Once we swipe them off to get started it's easy to forget!


I started with Ivory Powertex and spread this all over and in the joins between the top and bottom peices.  I then spread it all over the strengthening piece.  

I love the way these have been designed!

I dried it with a hairdryer (then picked up all the embellishments that were blown over the floor by the hairdryer - woops!!)


Once dry I turned it over and did the same on the front.

I then poured a tiny bit of the Red Powertex into the Ivory and mixed it up. This gave me a soft to medium pink!

TIP: less is more in colour mixing as Powertex tends to dry darker!

I spread the pink Powertex all over the front and then started to add my texture.

First I started with some of the lace and ricrac braid.  Using the lace around the curved top of the jelly fish and moving down to the two outer tentacles with the ricrac braid.

Next the embellishments, circles and cogs.

Oh boy I had fun with this, it was kind of like karma thinking back to my unfortunate brother falling foul to their nasty sting!  

I have to say I haven't had so much macabre fun in ages!!!


Once they were all in place, I used some of the Powercotton from the embellishment pack to add a bit more texture.

I then sprayed with black bister for a bit of dimension and dried with the hairdryer and left the piece to dry overnight.

NOTE: you can dry this in a drying box to speed up but it was more convenient to me to leave overnight.  I also find this gives the metal embellishments chance to dry to a really hard fix.


I had fun on day 2 adding lots of colour to bring out all that fabulous texture and detail.

The first lot of dry brushing I did was with the Powercolour burgundy pigment with Easy varnish and my 3/4" Powerex Brush to go back over some of the areas I had covered with bister, this can be seen in the image above right.  

I then moved onto blue and green, as shown on the left.

Next one of my favourite colours, Yellow Ochre - you can seen this around the tentacles in the image to the right! 

As I always do, I added bits and bobs of colour in various places sometimes overlapping with what colour I had already laid down.  This really creates so much interest.

Finally I used my most favourite of the gold pigments Colourtrix Bronze Gold.

Here is my funky Perfectly Pink Powertex Jelly Fish in all it's glory!

Hope you like it and hope to see your Jelly Fish popping up on Powertex Addicts facebook page very soon!

Have fun and bye for now!
Fi xx