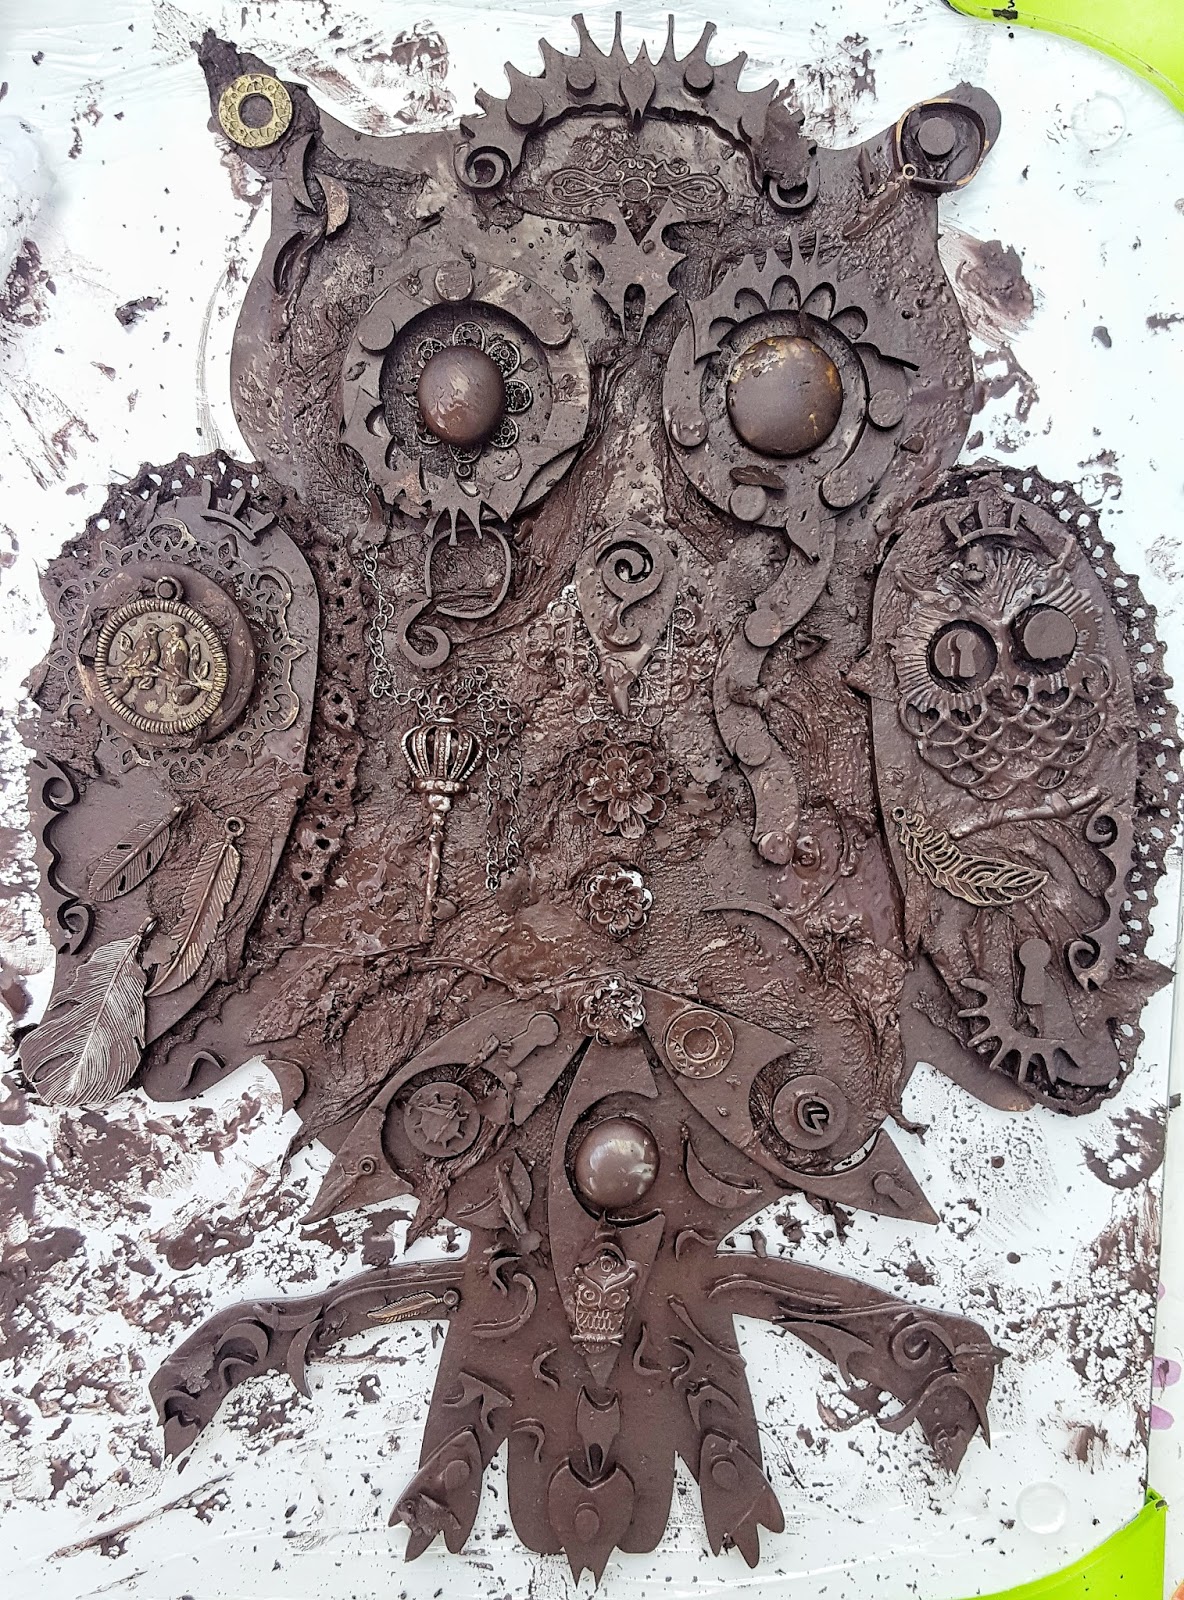
Hi there Fi here having some fun with the January Owl Kit from Powertex UK.
This kit is a bit of Owl-right! Lots of luscious embellishments and a super MDF base kit that will be a great outdoor decoration once the spring comes and the owl has had time to fully cure (about 4 weeks).
So let's get started!
First I tipped out the embellishment kit onto a plate, then did the same with the added mdf dropouts - I just have to say how much I love the dropouts! Lots of circles that will be ideal for steam punk and grungy styles and loads more that will help to give depth on other creations.
Next I laid out a basic idea for where I was heading. I was given the challenge to for a more steam punk look so I wanted to suggest a re-cycled re-used look and also went with the Owl being King of the Night!
Even if this hadn't been for a blog, I would have taken a photo of my layout for reference - even though I might change a few bits as go ahead.
Once the photo is taken move your pieces off the owl.
Tip: When I removing my lay out, I laid them out in little groups so I didn't waste time or get frustrated looking for each piece.
Next I painted both sides and all the edges of the main owl piece with Powertex Bronze. I dried off with the hairdryer.
Next I ripped up a sheet of kitchen paper and separated the layers.
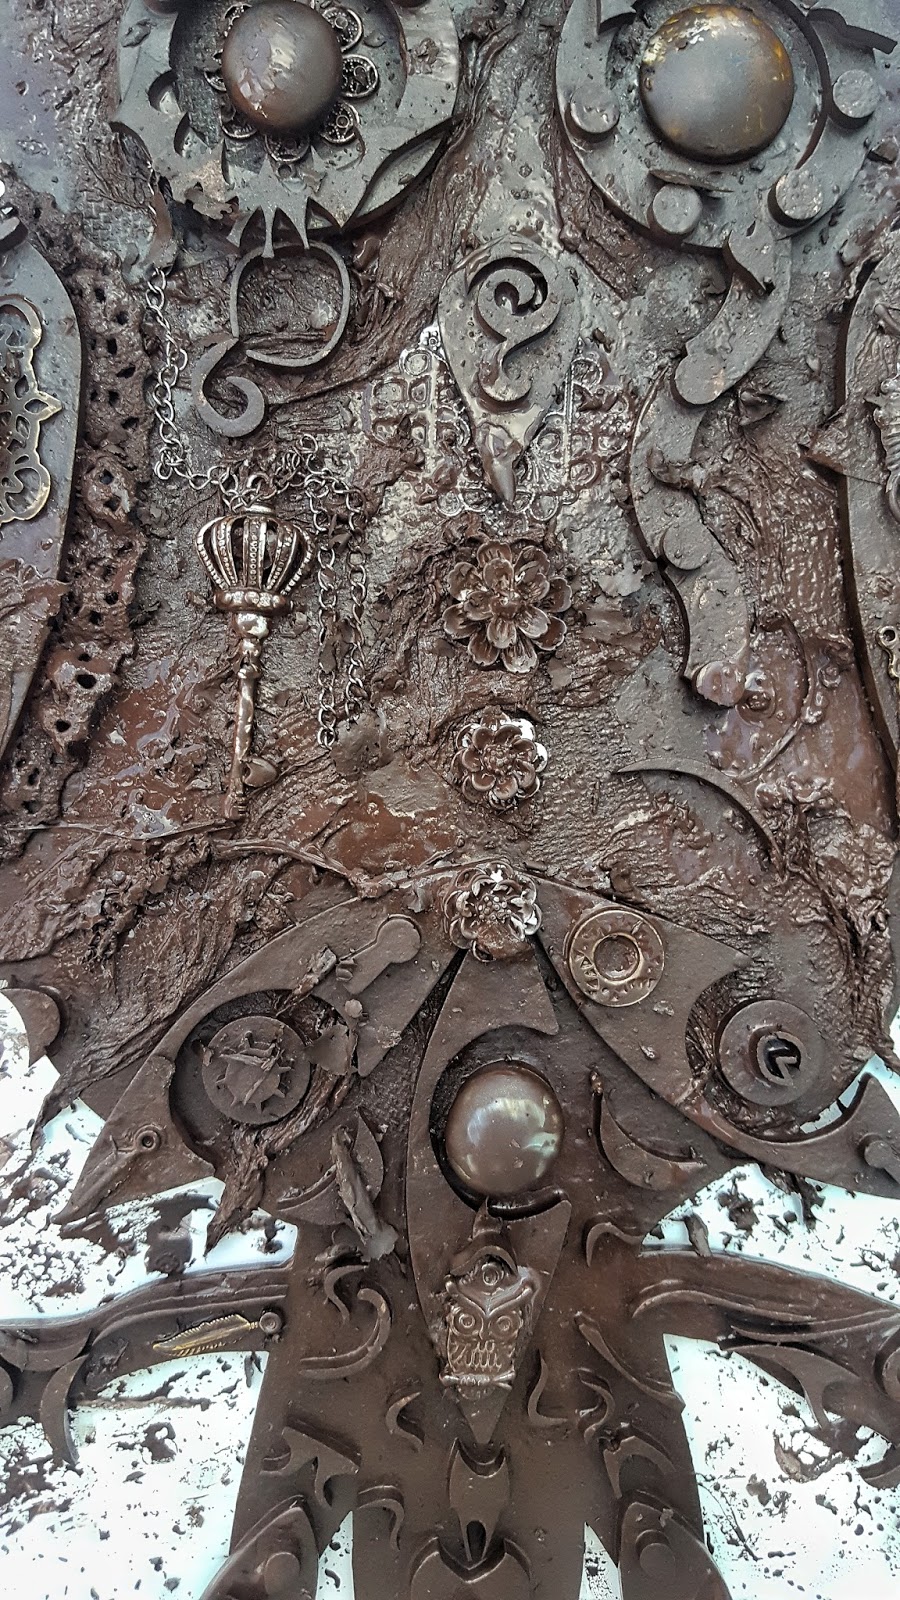
I poured some Powertex onto the body and worked in to pieces of the kitchen paper, moving the kitchen paper into position with my brush.
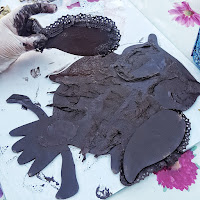
I then moved on to the wings. I painted with Powertex, cut the narrow lace in half and worked Powertex into it. I then shaped the lace around the outside of the right wing and the inside of the left wing - I like mixing things up and felt it added to the theme.
Next I worked on the eyes and the crown of my majestic owl.
I raised the left eye proud of the base by placing 4 of the dropout circles behind the main eye circle using Powertex.
I added a metal embellishment inside the eye and then one of the glass pebbles, I moved on to complete the right eye and and the crown.
Remember Powertex is paint, glue, fabric hardener, pigment all in one so no need for additional mediums

 Once this was done I completed the wings by adding layers of embellishments and referred to my photo when needed.
I used some more kitchen paper, that had Powertex worked in, under some embellishments to give it extra purchase.
Once this was done I completed the wings by adding layers of embellishments and referred to my photo when needed.
I used some more kitchen paper, that had Powertex worked in, under some embellishments to give it extra purchase.
Once the wings were complete, I worked on the main body, tail and branch areas.
I did change things around a little here from how I had originally laid it out.
Don't worry about getting Powertex on the glass and resin embellishments as these can be wiped off gently with a baby wipe
Once I was happy with the placement of embellishments, I loaded my brush with Powertex and stippled over some areas where the embellishments were heavy for extra sticking power. I then left it overnight to fully dry.
Once the night was over it was time to bring King Owl to life adding colour to enhance his gorgeousness!
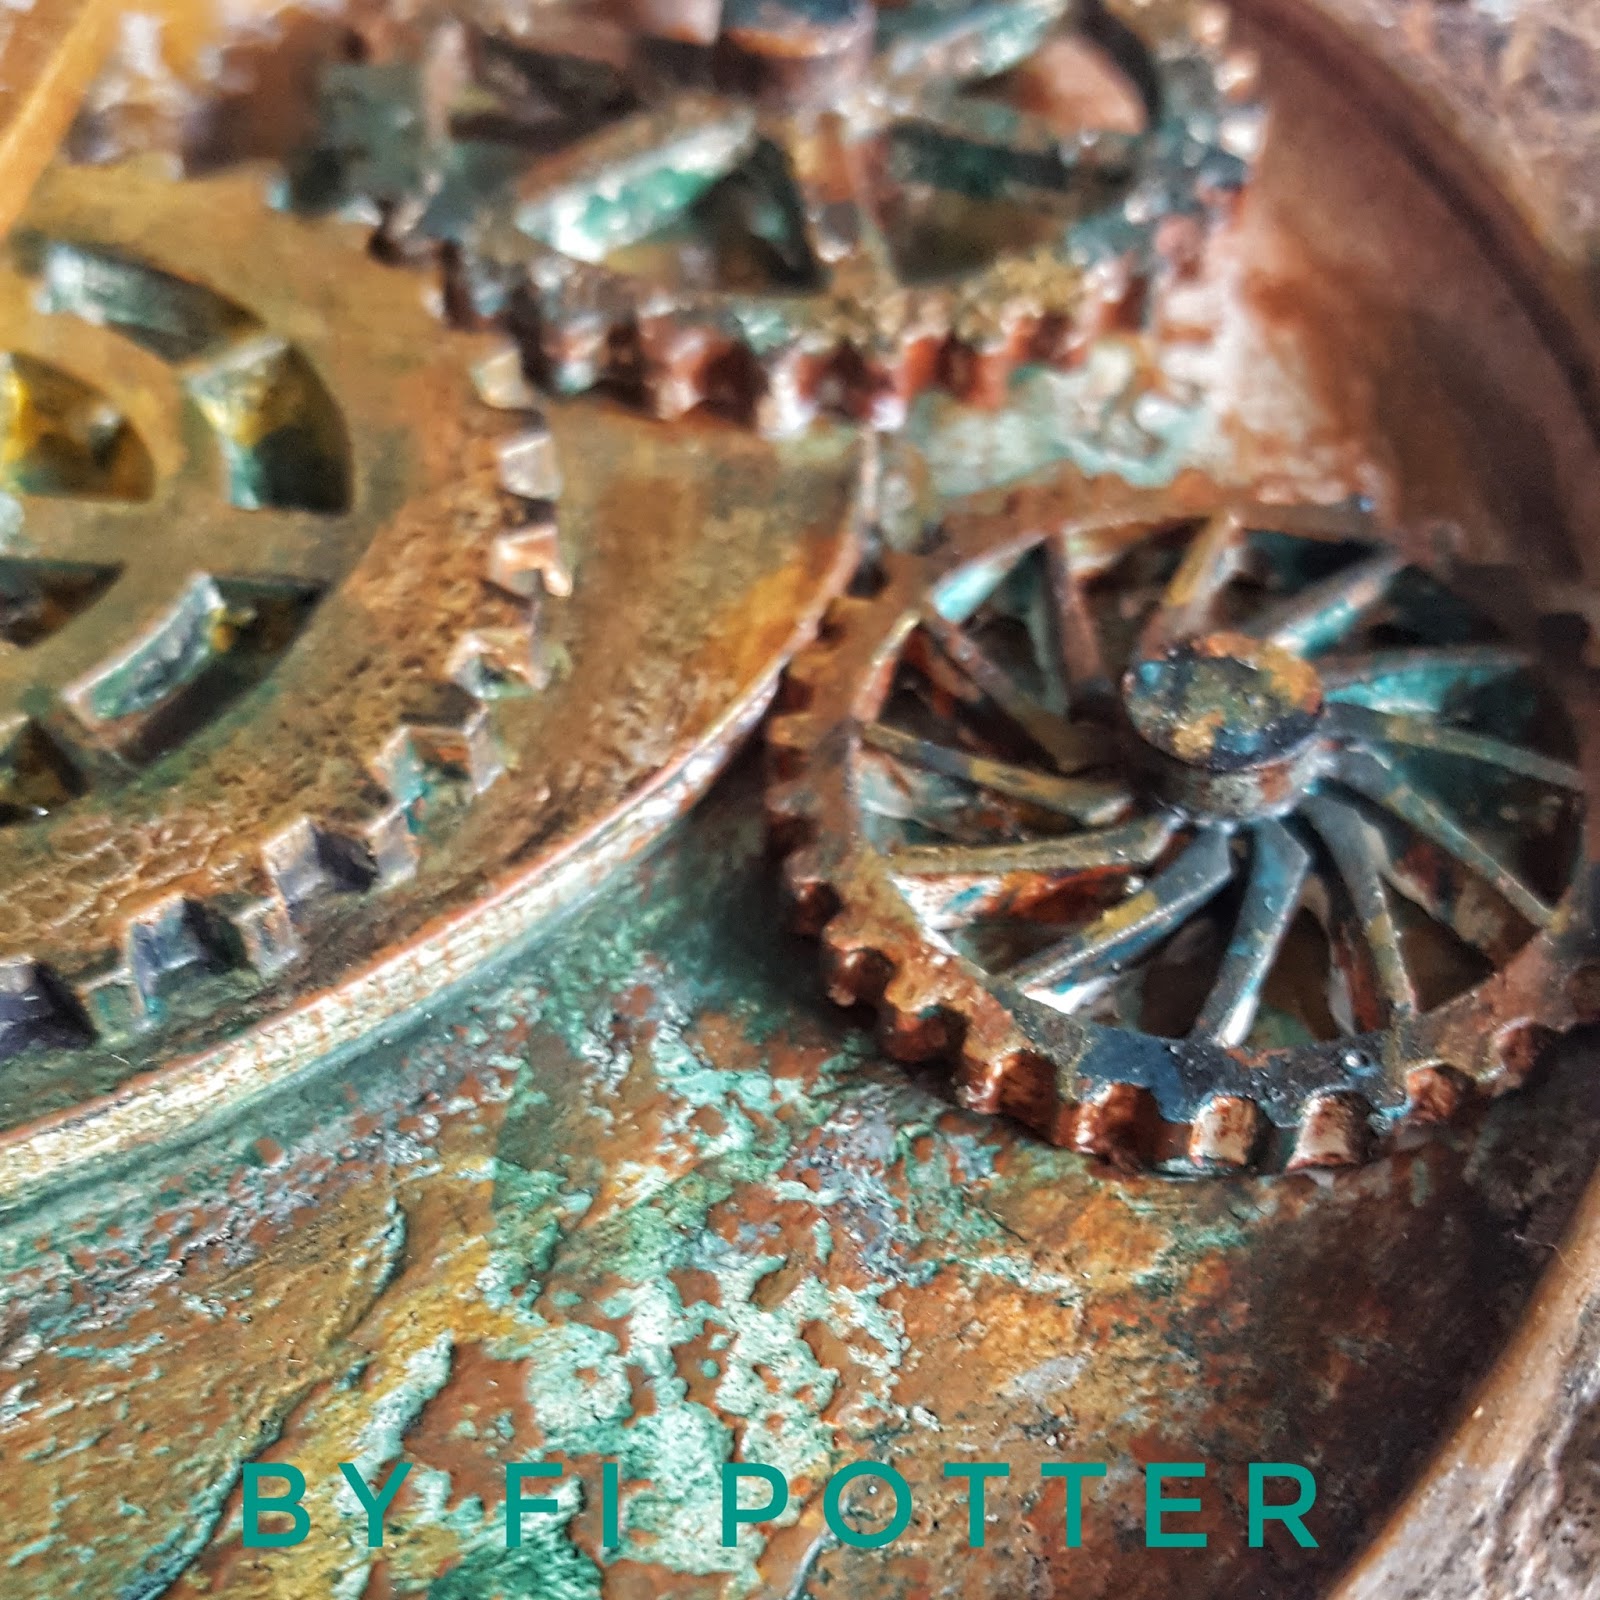
 First using Easy Varnish and Dark Green PowerColor I added colour to the lower sections of the wings, branch and body.
I then added a little white to lighten to a sage green and added this to some areas.
Next with a clean brush I added Yellow ochre and then Yellow Ochre and White.
I added highlights of Copper Colortrix to finish.
Because my owl is King and is altered with a nod to Steam Punk, I added an odd bit of chain and some Copper coloured glass glitter from my personal stash.
Here is my completed King Owl - I hope you agree he is a bit of an Owl right punky King of the Night!
Grab yourself and Owl Kit while they are still available and have some fun. If you want to hang him outside, make sure all the edges of every piece of MDF have been well coated in Powertex and left inside for 3-4 weeks.
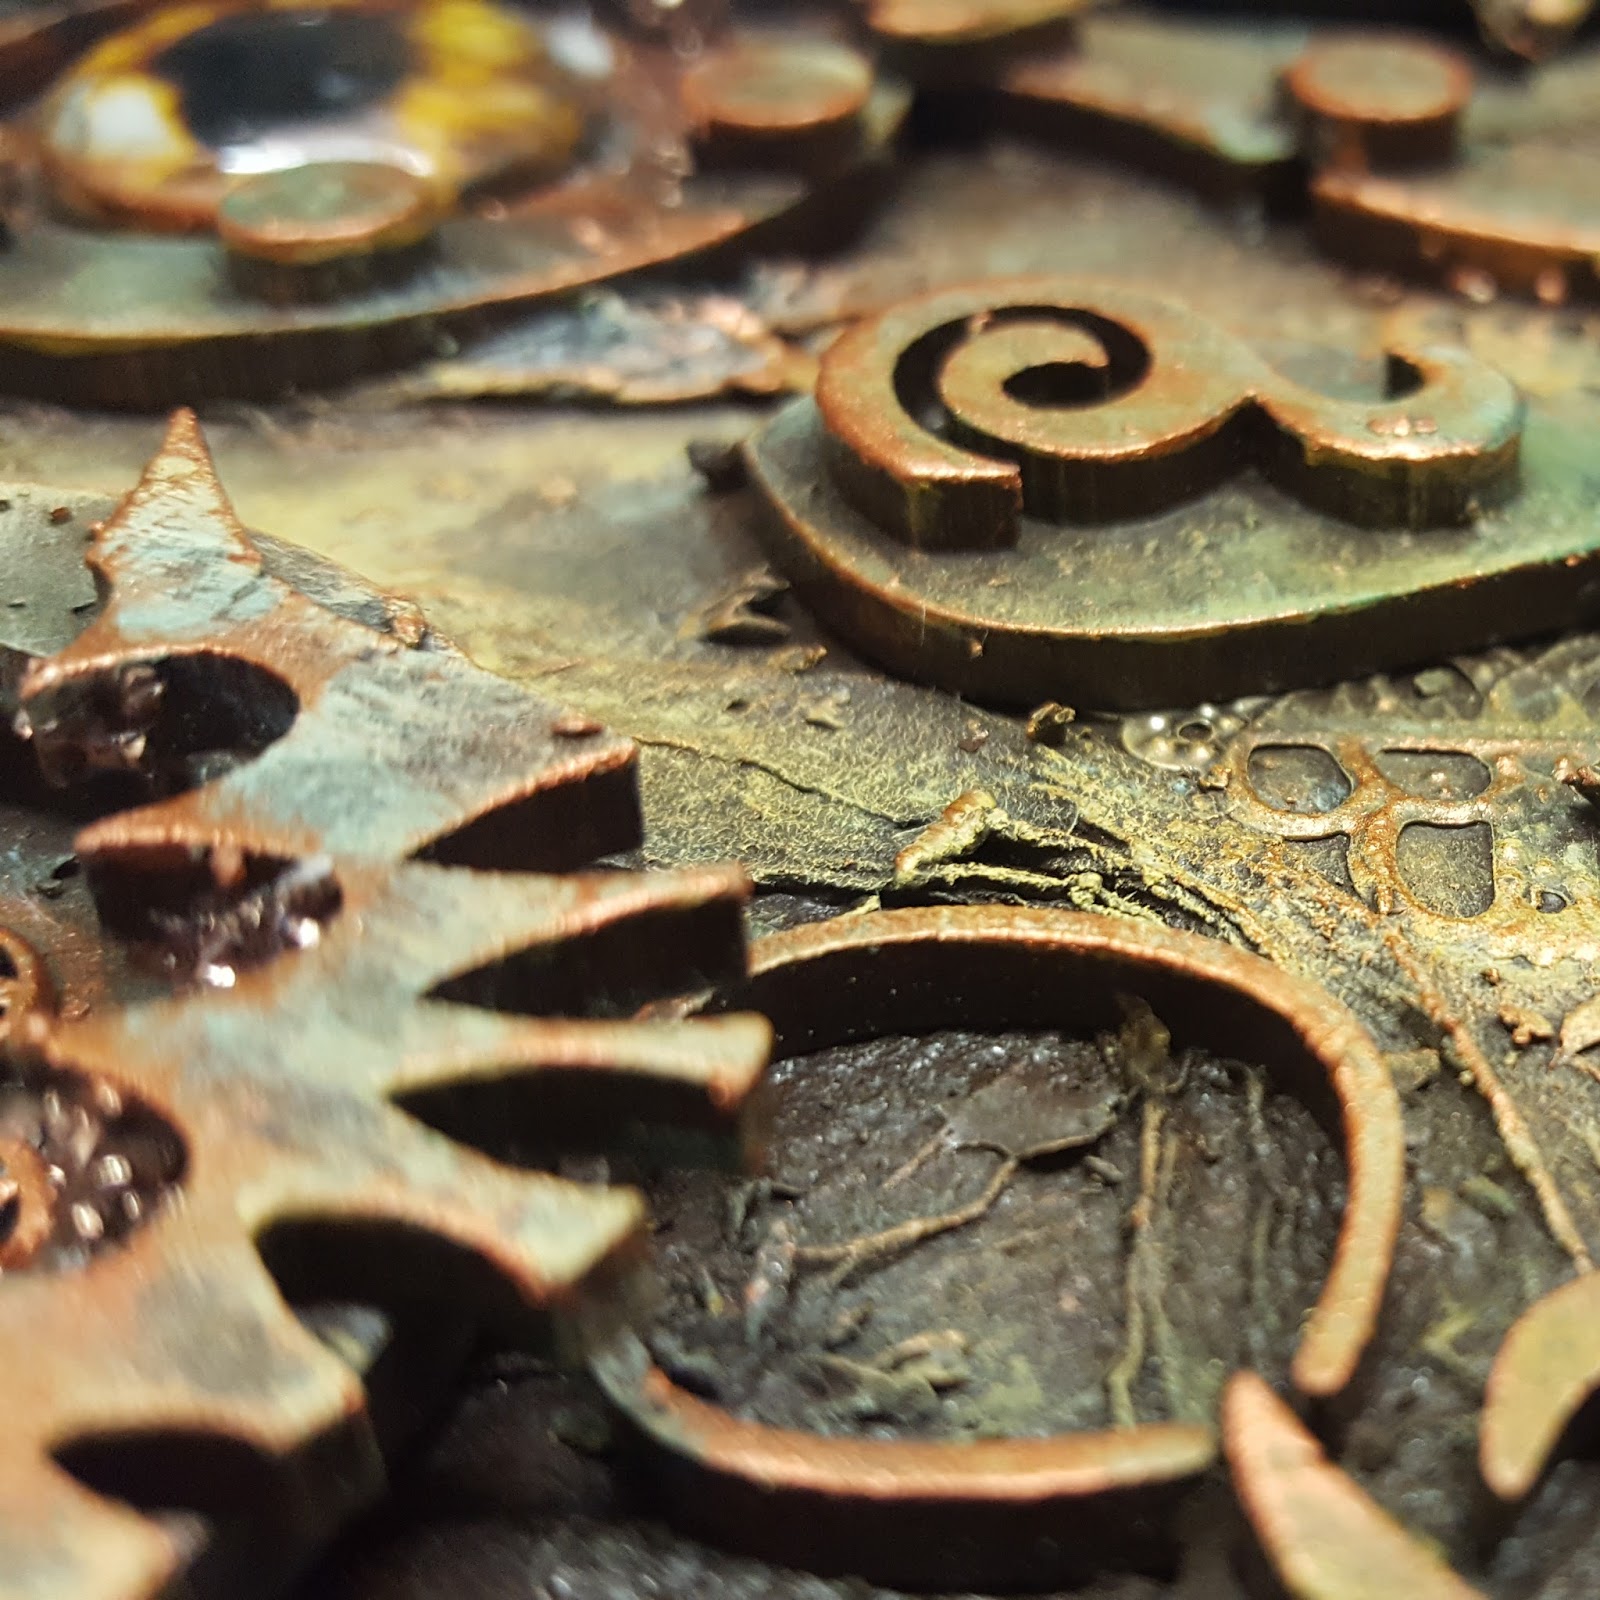
Below are some of close ups of my finished owl, left over embellishments and dropouts and a photo of my mixed up palette.
Until next time...
Fi xxx


 I made the kit up and then coated all over with Ivory Powertex. I then added a texture paste, made up from Powetex and 3D flex. I roughly spread it over the two ends and in patches on the top of the storage caddy.
  Once dry I washed back removing the surface bister and leaving a nicely stained base. The bister had encouraged some great crackles on the ends and some nice fine ones on the top.